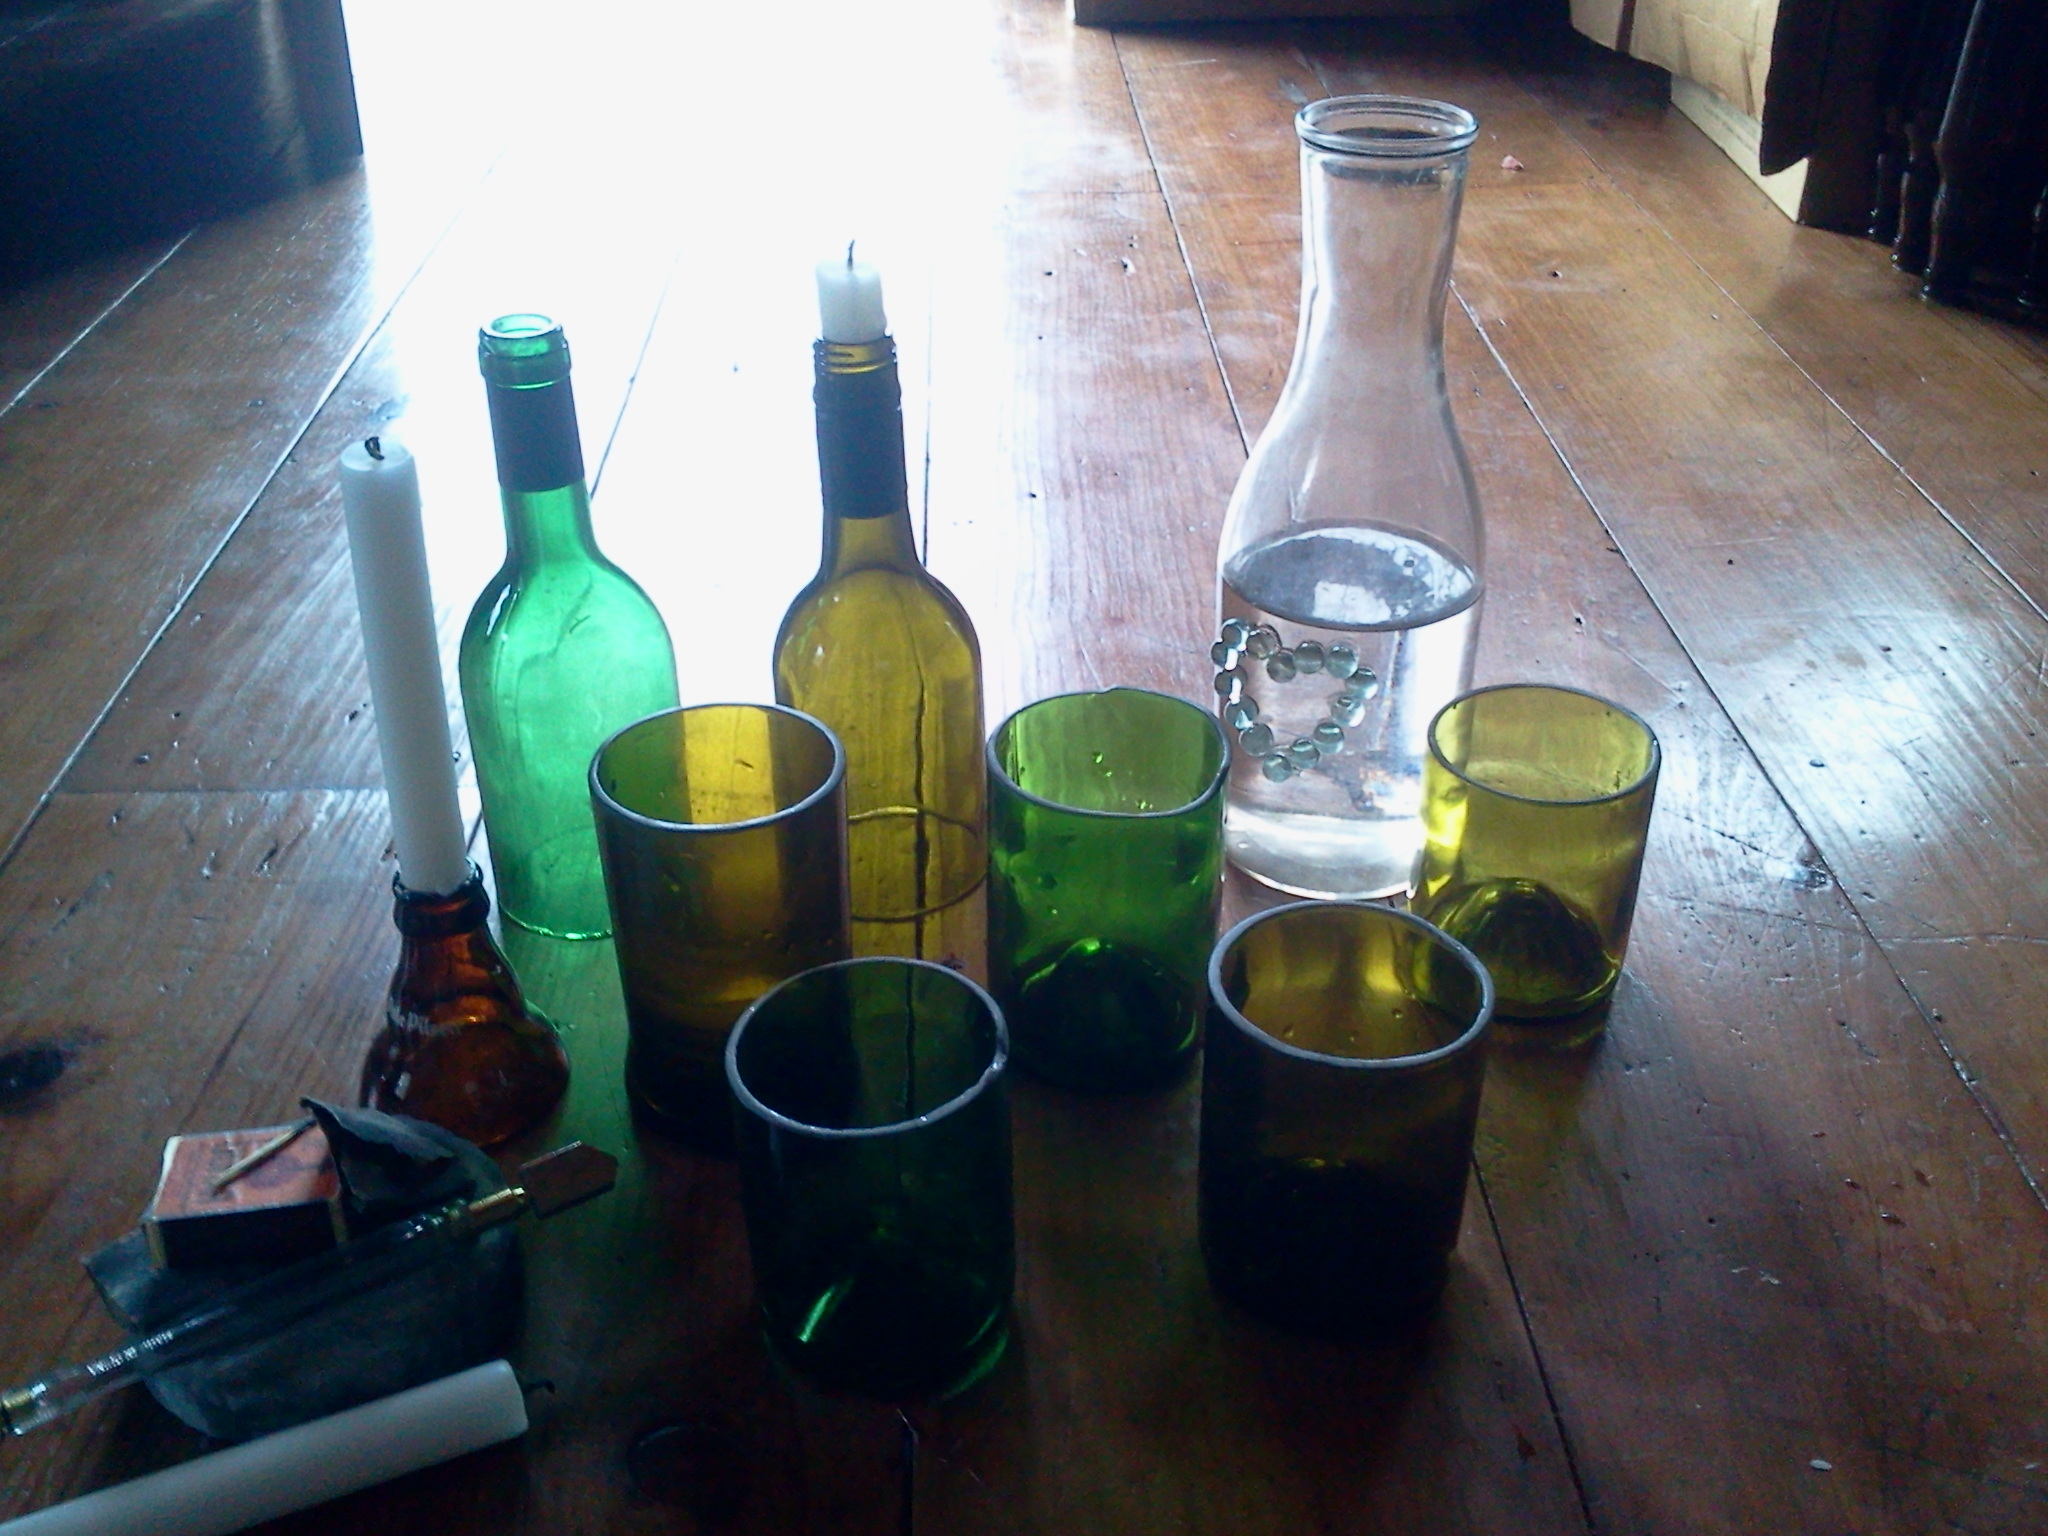
Its one thing to drink water from a plastic glass that was made in a big factory somewhere. Its another thing to drink water from a beautiful emerald chalice that you crafted with your own hands!
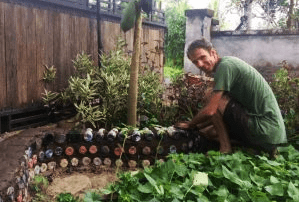
I’ve been meaning to make a new set of glasses for the last months. As some might remember, a year ago I went through a passionate obsesson of trying to figure out the best way to cut a bottle in a remote village a year ago. The obsession burnt itself out and, although I now have all the equipement and expertise, I haven’t bothered to get back to it. However, after a year of accidently breaking glasses here and there, my need was rising! To spark things, the other week my sister Ellen visited. She was totally enthused by the prospect of learning glasses cutting and I had a big reserve of prepped bottles waiting to go. So, we set to work!
Although it took me months of experimenting to find the best technique, the technique is super simple and inexpensive. My core parameter was to be able to find a way to do it in a remote village. I am happy to say that the technique totally caught on at the local college and in neighboring villages. My apologies to any drinking glass factories that have seen a dip in demand!
Here are some of the glasses created with my sister and Ian and later Banague.
The Steps:
- Soak bottles over night or in hot water to remove the labels.
- Get yourself a glass cutter. They look like a pen and either have a diamond or a cobalt tip. The cobalt tip needs some oil (I used bike lubricant) and I’ve discovered that this seems to actually help the heating cutting process that follows. Either work fine and cost 4 to 10$ at your local hardware store.
- Get yourself a candle, matches, a rag, and a bucket of cold water.
- Find yourself a door. Open it. Jam your glass cutter in between the door and the door frame.
- Adjust vertically to the desired height of your new glass. Close door to hold cutter tight.
- Position your bottle against the diamond or cobalt blade. Use one hand to press down and one to turn the bottle. A light scratch will result. That’s all you need. Just make one round of the bottle. You will hear the scratch sound change when you hit your line again.
- Light your candle, set the bucket of water beside your chair and have your rag and cutter handy. Begin turning your bottle’s scratch line over the flame. Rotate several times slowly. You’ll get the hang of timing soon enough!
- Quickly move the bottle from the flame to the water bucket. Submerge crack. Use the metal head of the glass cutter to bang the bottle in the water. All this must happen within a 3 second period.
- The rapid change of temperature will fracture the glass. Sometimes this happens on your first go, sometimes, especially with thicker glass, you have to repeat many times to move the fracture along. When you lift the bottle from the water, be sure to hold over the water and to use the rag. Sometimes the bottle will fall apart in your hand.
- Give the bottle a gentle tug. Voila! You now have a glass and a candle holder. If the bottle hasn’t yet broke, use the rag to dry off the bottle and repeat the process.
- Hold your glass carefully. It is very sharp! Use a wet sharpening stone or 100 sand paper to smooth down the edges. For the best glasses attempt to sand away all the glossy black spots on the lip. Note: The sanding is the hardest part of all!
- Use 200 sand paper to for a final buff. Clean the glass out really well.
- Drink some water to celebrate!